
Ask three suppliers what "heavy gauge" means and you will get three answers. Gauge — the thickness of the flat blank before forming — is the specification line that quietly decides metal cost, forming limits, durability in service and how a piece feels in the hand. It is also the line most often left vague, which is why quotes for the same design can differ by a wide margin.
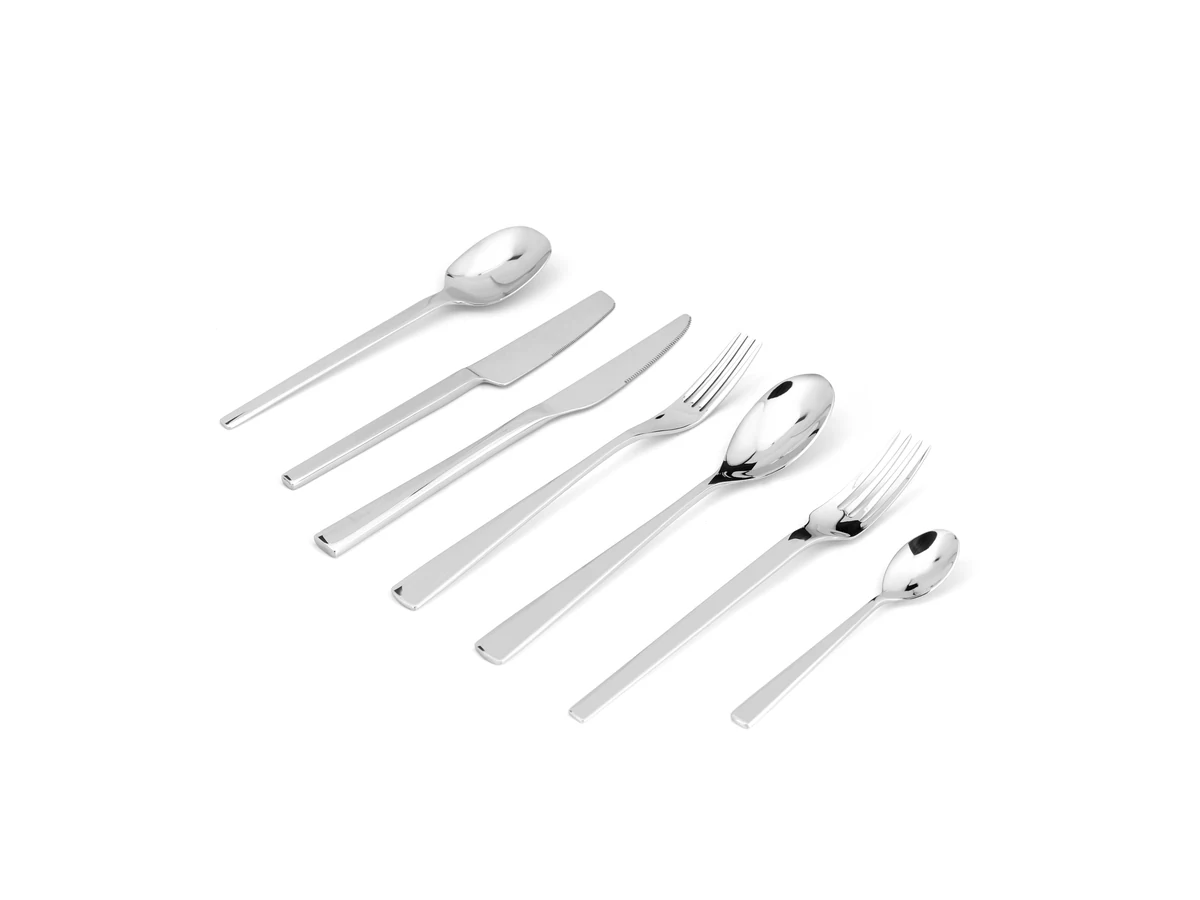
This guide separates gauge from weight, explains where thickness matters most on a fork or spoon, and shows how to write it into a purchase order. It sits alongside our weight and balance guide, which covers how a finished piece feels; gauge is the input, weight is the output. The reference range is our modern flatware collection.
Gauge Is an Input, Weight Is an Output
Blank thickness is measured before forming, usually in millimetres. Weight is measured on the finished piece, after the blank has been drawn, coined and polished. Two pieces of identical gauge can end up at different weights if their handle geometry differs, because forming stretches and redistributes metal. That is why a specification should state both: gauge as the production input, and a weight tolerance per piece as the acceptance check.
Typical commercial flatware runs roughly from about 2.0 mm on value lines to 3.5 mm and above on heavy hospitality patterns. The numbers vary by design and construction, so treat any single figure in a quotation as a claim to verify, not a category label.
Where Thickness Matters Most on the Piece
Thickness is not uniform in effect. Three zones carry most of the consequences:
- Handle shank — the load path between bowl and hand. Under-gauge here shows up as a piece that flexes when levering food.
- Bowl or blade — thickness affects stiffness, but over-thick bowls feel clumsy and cost more metal than the use justifies.
- Tine root on forks — the thinnest formed area and the most common fatigue point in cheap lines.
A good drawing calls out minimum thickness at these zones rather than a single average figure. An average hides thin spots; a zone callout does not.
What Gauge Decides in Cost
Metal is the largest cost line in a stamped piece, and cost scales close to linearly with thickness for the same design. Moving from a 2.5 mm to a 3.0 mm blank on the same pattern adds material cost on every piece of every order, permanently. That is why gauge should be chosen against service life, not against a competitor's claim: in a hotel program where pieces wash thousands of cycles, the thicker blank often pays for itself in replacement avoidance. In a low-frequency retail line, the same premium may never be recovered.
For the wider cost picture — tooling, finishing, packaging and freight — see our quotation comparison guide, which lists the cost drivers a quote should break out.
Durability Limits and Thinning Risk
Forming thins metal locally wherever the blank is drawn deeply: bolsters, sculpted relief and deep bowls. A piece specified at 3.0 mm can end up at 2.2 mm at the thinnest formed point. The deeper the design, the more gauge becomes a negotiation with geometry. Two practical rules follow: check the actual minimum thickness on production samples, not on drawings alone; and when a design is very deep-formed, accept a slightly heavier blank than the target to keep the thin zones safe.
How to Write Gauge into a Specification
- State blank thickness in millimetres with a tolerance band, not as "heavy" or "thick".
- Call out minimum thickness at shank, bowl and tine root separately.
- Pair it with a finished weight per piece and an allowed variance, so acceptance can be measured.
- Name the steel grade alongside gauge — thickness without grade says nothing about corrosion behaviour. Our grade comparison is here: 304 vs 430 vs 201.
- Request thickness checks on production samples as part of approval, not just on the first prototype.
Verifying Gauge on Samples
Verification is simple and does not require laboratory equipment: a micrometer on the flat shank, weighed pieces on a kitchen scale, and a bend check by hand against an approved reference. Compare across at least ten pieces from the production run, because variance between pieces is as informative as the average. Our sample inspection checklist places gauge checks in the full approval sequence.
Every pattern in our flatware range is quoted with blank thickness, grade and finished weight stated per piece, so gauge comparisons between quotations start from numbers rather than adjectives.