
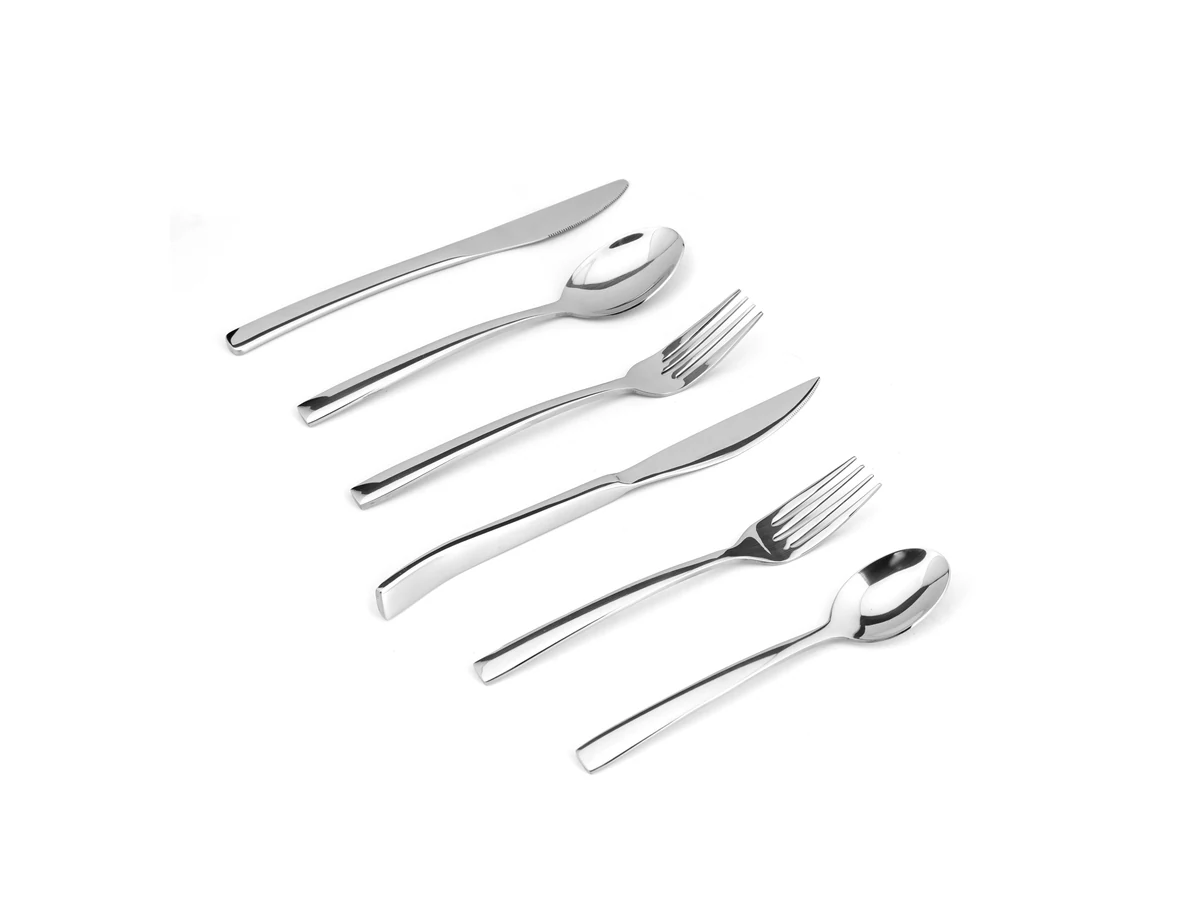
Sculpted handles sell because they look hand-formed. Producing them is a different matter: every curve has to be released from a die, every hollow has to be reachable by a polishing mop, and every undercut has to be either removed from the design or paid for in tooling. Understanding that trade-off early saves a redesign after the sample stage.
This guide is for buyers and designers specifying contoured handles. It explains what a sculpted shape must satisfy before it can be tooled, how relief depth drives cost, and how to approve a sculpted sample. The reference range is our sculpted handle flatware collection.
Why a Sculpted Handle Is a Tooling Decision
A flat, straight handle can be produced from a simple press tool and finished on a linear polishing line. A sculpted handle usually needs a progressive die with shaped forming stations, sometimes a secondary coining step to sharpen relief, and hand or robotic polishing into concave areas. The design intent is identical; the capital and labour behind it are not.
Relief Depth and What It Costs
Relief depth is the distance between the highest and lowest point of the sculpted surface. It affects cost in three ways: deeper relief needs more forming force and stronger tooling; it thins the metal at the deepest draw point; and it makes polishing access harder, which increases hand finishing time.
| Relief depth | Production implication | Typical use |
|---|---|---|
| Shallow (under ~1 mm) | Press forming, machine polishing | Subtle contour and edge highlights |
| Medium (~1–2 mm) | Progressive die, partial hand polish | Most sculpted commercial patterns |
| Deep (over ~2 mm) | Coining or casting, extensive hand polish | Decorative and premium gifting lines |
The thresholds are indicative and depend on blank thickness and steel grade. The point is to ask the question before design freeze: how deep is the deepest relief, and where is the metal thinnest as a result?
Draft, Radius and Polish Access
Three geometric rules decide whether a sculpted shape can be produced cleanly. Draft angle lets the formed part release from the die without dragging. Internal radius determines whether a polishing mop can reach the transition. Polish access decides whether the finished surface reads as smooth or as a series of tool marks. A shape that ignores these rules can still be sampled — by hand — and then fail in production, which is the most expensive way to learn them.
Where Sculpted Designs Fail in Volume
The recurring failures are predictable: metal thinning at the deepest point of the draw, die marks in a concave transition that the polishing line cannot reach, pattern misalignment where two forming stages meet, and weight variance between pieces because the draw pulls material unevenly. None of these appear on a single hand-finished prototype. They appear when the same tool runs for hours.
Approving a Sculpted Sample
Approve from production tooling, and approve a set rather than one piece. Check surface continuity under raking light, measure weight across at least ten pieces, and confirm the transition between sculpted and flat areas is clean. Then photograph the approved sample under fixed lighting and keep it as the reference. The tooling and sampling sequence itself is described in flatware tooling and sampling.
Adjusting Design Without Changing Tooling
Most late-stage design requests can be met without a new tool if they move in the right direction: reducing relief depth, increasing an internal radius, or simplifying a transition. Requests that need a new tool are the ones that add material, deepen a draw or create an undercut. Knowing which category a request falls into is what allows a range to be adjusted for one market without re-tooling for every market.
Our sculpted handle flatware is quoted with relief depth, blank thickness and finishing route stated per pattern, so the cost difference between two sculpted designs is visible before a tool is cut.