

Short answer: successful OEM flatware development begins by choosing the correct customization level, converting the concept into a measurable specification, approving a physical reference sample and releasing mass production only after product and packaging details are signed off.
This article is for private-label brands, hospitality groups, promotional buyers and distributors. It explains a manufacturing workflow without presenting an invented customer case.
Choose the Right Customization Level
Not every private-label project needs a new mold. The correct path depends on launch timing, differentiation, budget, expected volume and ownership of the design.
| Development path | What changes | Best suited to | Main control point |
|---|---|---|---|
| Existing pattern + logo | Logo and basic pack configuration | Fast market test, hospitality branding or promotional use | Logo size, position and repeatability |
| Existing pattern + custom set/packaging | Piece mix, retail box, insert, labels and instructions | Private-label retail launch without product tooling | Packaging fit, print proof and pack count |
| Existing pattern + finish change | Mirror, satin, texture or available color finish | Brands needing visual differentiation | Color standard, coating system and care test |
| Modified design | Selected dimensions, handle detail or weight target | Programs with a clear design requirement and repeat volume | Feasibility, tooling scope and ownership |
| New design | Original shape, dimensions, tooling and complete specification | Established brands building a proprietary range | Design rights, tooling agreement and development revisions |
Starting with an existing pattern is not a compromise when the buyer’s main value comes from curation, branding, packaging or channel access. New tooling is justified when the product geometry itself must be exclusive.
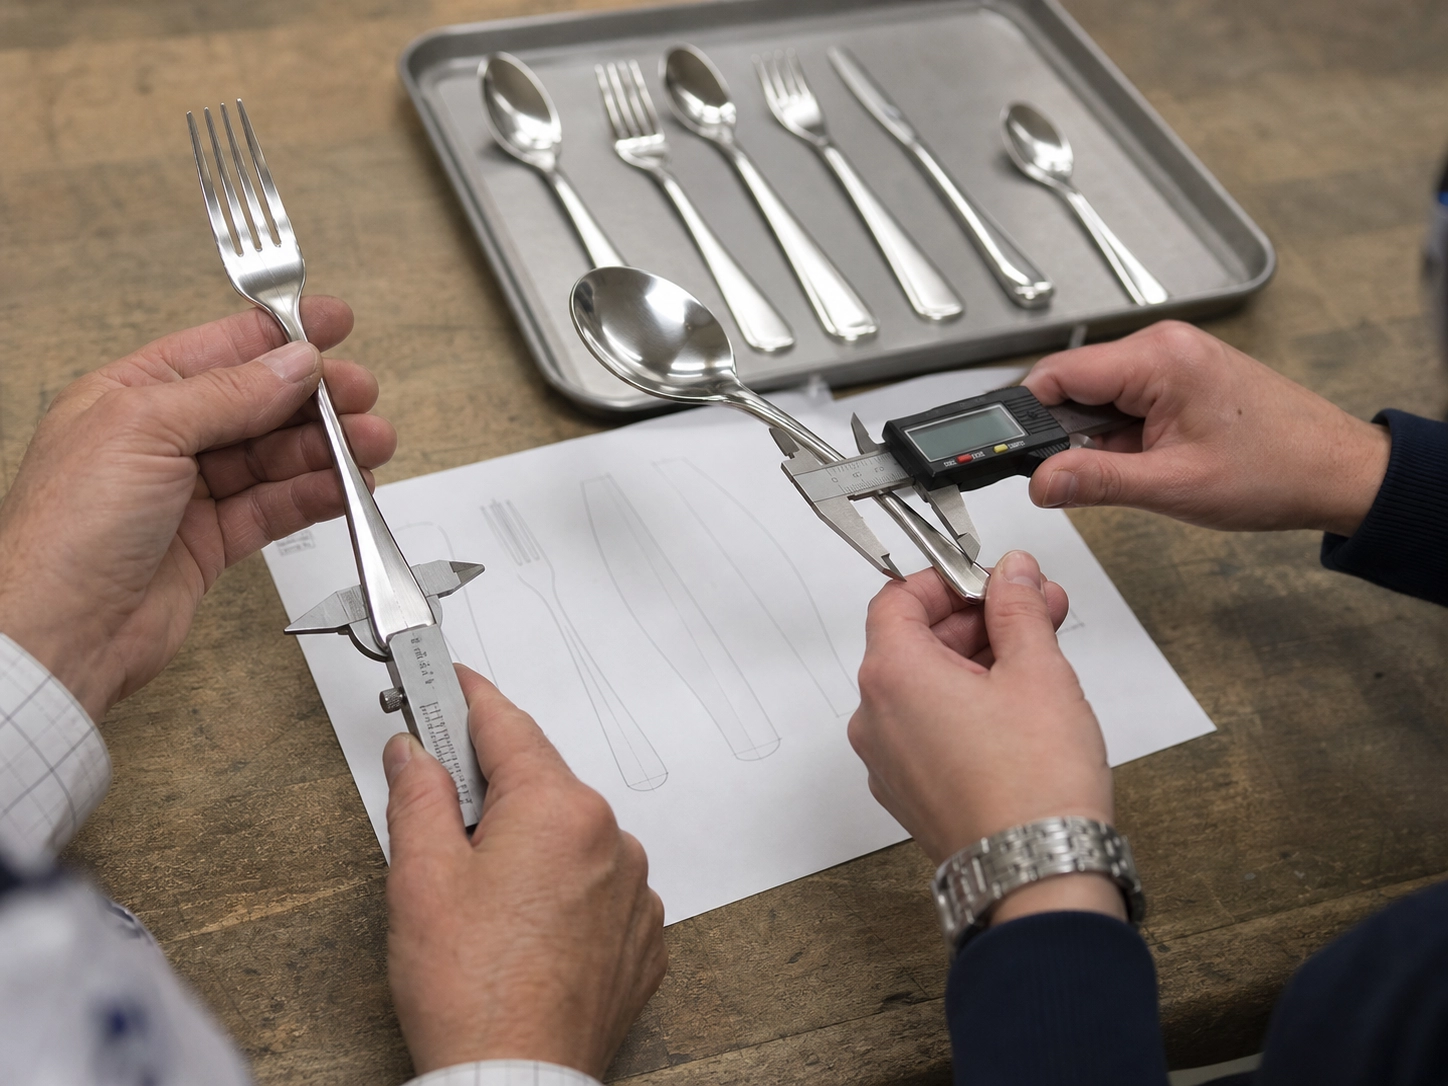
Prepare an OEM Development Brief
A useful brief gives the factory enough information to evaluate manufacturability and quote the same product the brand expects to receive.
- Target user and channel: hotel, restaurant, retail, e-commerce, gift or promotional program
- Piece list: every utensil required and the quantity of each in the set
- Reference design: drawings, dimensions, physical sample or clearly labeled images
- Material: requested steel grade by piece and any documentation requirement
- Physical targets: overall length, width, thickness, weight and balance direction
- Finish: polish, texture, color reference and finished areas
- Branding: vector artwork, method, size, position and orientation
- Packaging: channel, box structure, insert, labels, manual and master carton
- Commercial inputs: first-order quantity, annual forecast, destination, target launch date and required Incoterm
If a value is flexible, state the acceptable range and the purchasing priority. For example, “target weight 50–55 g, but edge comfort takes priority” gives the engineer more useful direction than “premium heavy feel.”
Review Feasibility, Quotation and Tooling Terms
The supplier should separate standard product cost, customization cost, tooling, samples, packaging, testing and any one-time development charges. Ask which changes affect MOQ and mass-production lead time.
| Question | Why it belongs in the agreement |
|---|---|
| What tooling is required? | Clarifies which features are standard and which require investment |
| Who owns and stores the tooling? | Prevents future disagreement over exclusivity, maintenance and transfer |
| How many sample revisions are included? | Controls cost and timing when the first sample needs adjustment |
| What is the MOQ by finish and packaging? | Product, coating and printed-box minimums may be different |
| When does mass-production time begin? | The trigger should be explicit: approved sample, artwork, packaging and deposit |
| How are future changes controlled? | A revision number prevents old drawings or artwork from returning in a reorder |
Use a Three-Part Approval Process
1. Product Sample
Measure every piece and assess weight, balance, edge smoothness, fork-tine alignment, spoon shape, knife performance, polish or color and logo placement. Record comments directly against the drawing or specification.
2. Packaging Sample
Check that the set fits without contact damage, the product orientation is correct and all labels, barcodes, warnings and instructions match the destination and sales channel. For parcel delivery, validate the shipping configuration rather than only the presentation box.
3. Approved Reference Sample
Sign or seal the accepted product and packaging version. Store identical references with the buyer and supplier when practical. The approval should list the specification revision, artwork revision and approval date.
A sample is not a substitute for a specification. It works best when both are used together: the specification controls measurable requirements and the sample controls visual details that are difficult to describe.
Release Mass Production with Clear Checkpoints
- Purchase order review: confirm item codes, revisions, quantities, prices, packaging and commercial terms.
- Pre-production confirmation: verify material, tooling, approved sample, artwork and packing files.
- Early production check: review first output when a new tool, coating or packaging process is involved.
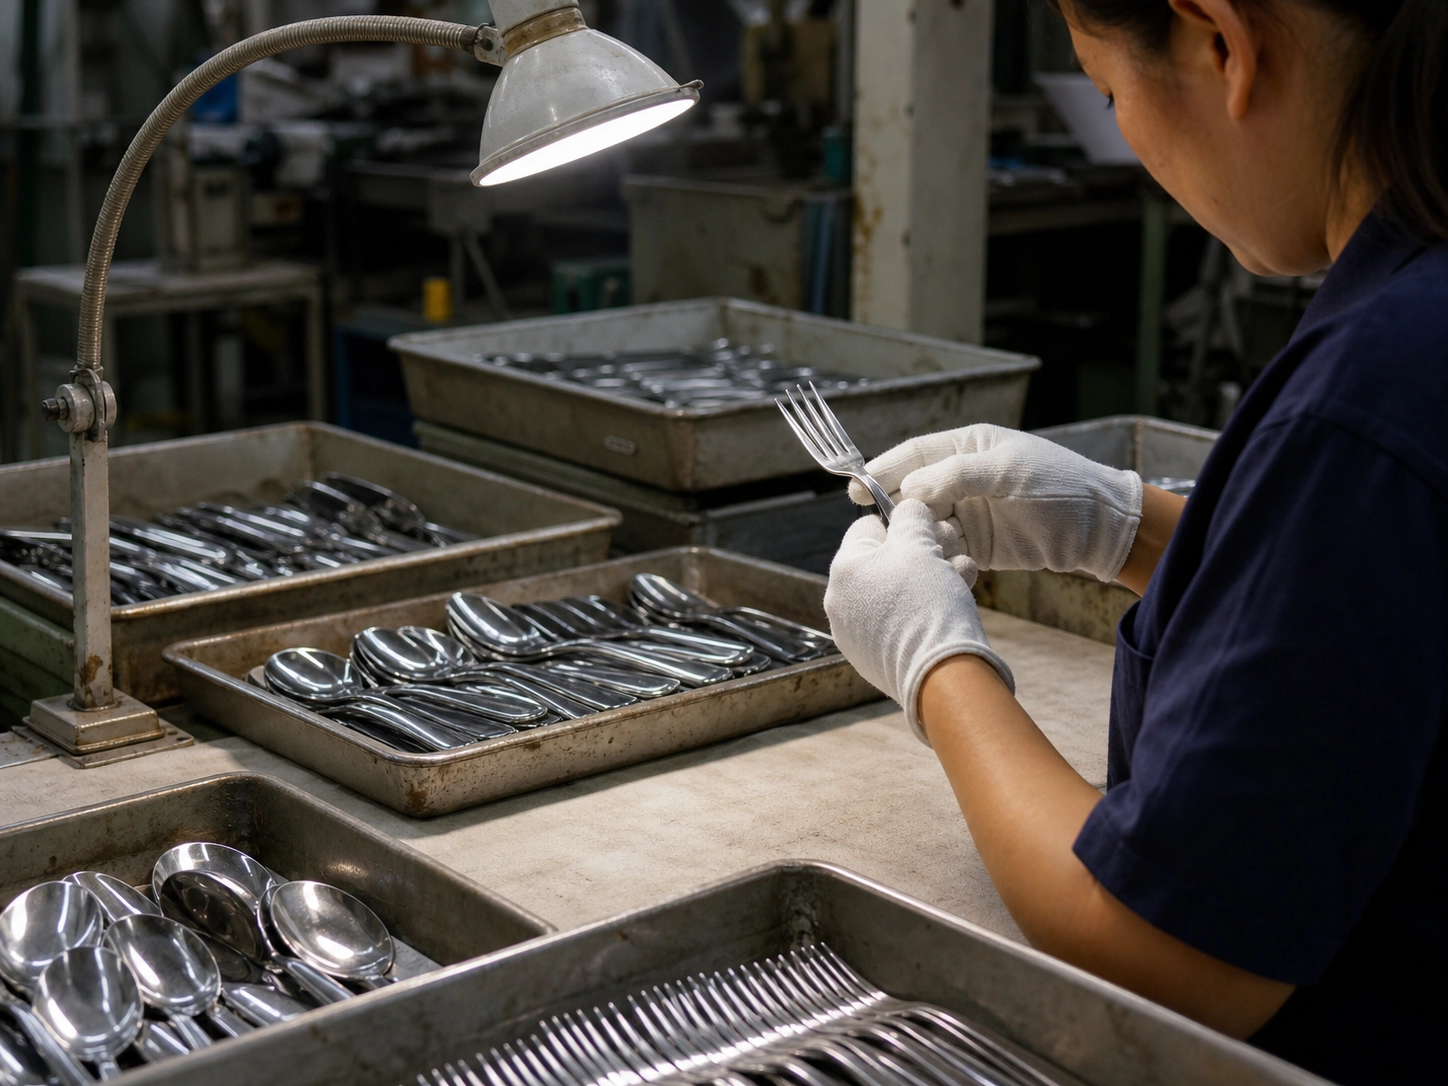
- In-process control: monitor the operations most likely to change dimensions, edges, finish or assembly.
- Pre-shipment inspection: inspect workmanship, function, dimensions, weight, finish, logo, assortment and carton count against the approved documents.
- Shipment release: define who accepts the inspection result and authorizes dispatch.
The inspection plan should define critical, major and minor defects in terms relevant to the product. Sharp burrs or an unsafe edge require different treatment from a small cosmetic mark within an agreed appearance limit.
Control Packaging and Logistics as Part of the Product
Packaging is often the final step in development but a major source of delay. Printed-box dimensions depend on the approved product, while product protection depends on the final finish. Start structural packaging work early, but release printing only after product fit and artwork are approved.
Confirm inner quantity, master-carton count, net and gross weight, carton dimensions, marks, pallet requirements and destination. Mass-production lead time and transport time should be quoted separately.
Illustrative Application Scenario: A Branded Restaurant Set
This is an application example, not a customer case. A restaurant group wants a recognizable four-piece setting without the cost and time of developing a new shape.
| Decision | Selected approach | Reason |
|---|---|---|
| Product | Existing teardrop pattern | Reduces tooling and keeps replacement straightforward |
| Customization | Laser logo on the handle | Creates brand identification without changing geometry |
| Set | Dinner knife, dinner fork, dinner spoon and teaspoon | Matches the restaurant’s actual service |
| Packaging | Commercial inner packs rather than retail gift boxes | Reduces unpacking labor and unnecessary material |
| Approval | Full set sample plus wash trial | Checks logo, handling and care under the real workflow |
The buyer can launch a branded program quickly and reserve proprietary tooling for a later phase if volume and brand strategy justify it.
Common OEM Development Mistakes
- Starting tooling before dimensions and design rights are settled
- Sending only a mood board without measurable requirements
- Assuming the product MOQ and printed-packaging MOQ are identical
- Approving one utensil instead of the complete set
- Changing artwork by email without a revision-controlled file
- Counting ocean or air transit inside the factory production lead time
- Failing to document tooling ownership and exclusive-use terms
FAQ
Can a private-label brand start without custom tooling?
Yes. An existing pattern with a custom set composition, logo and packaging is often the most efficient first launch. Tooling can follow after demand is validated.
What files are needed for a custom logo?
Provide editable vector artwork, the required dimensions, position, orientation and any minimum clear-space rule. Approve a physical sample because appearance varies with method and surface.
How is the OEM MOQ determined?
It can be driven by the product, steel or component availability, finish batch, logo process, printed packaging or new tooling. Ask for each minimum separately.
What starts the mass-production lead time?
The purchase agreement should state the trigger. A practical definition is approval of the product sample, artwork and packaging plus receipt of the agreed deposit and complete purchase order.
Move from Concept to a Quotable Specification
See more OEM and private-label flatware guidance or review a teardrop-handle pattern suitable for configuration. Send the target channel, piece list, dimensions, material, finish, quantity, logo, packaging and destination for a manufacturability review.